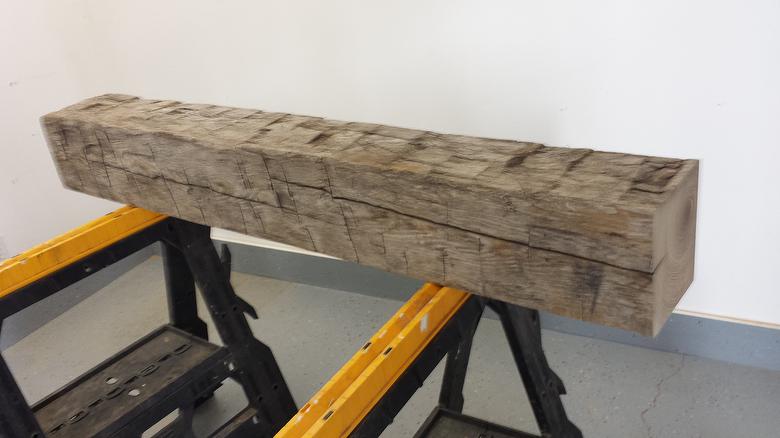
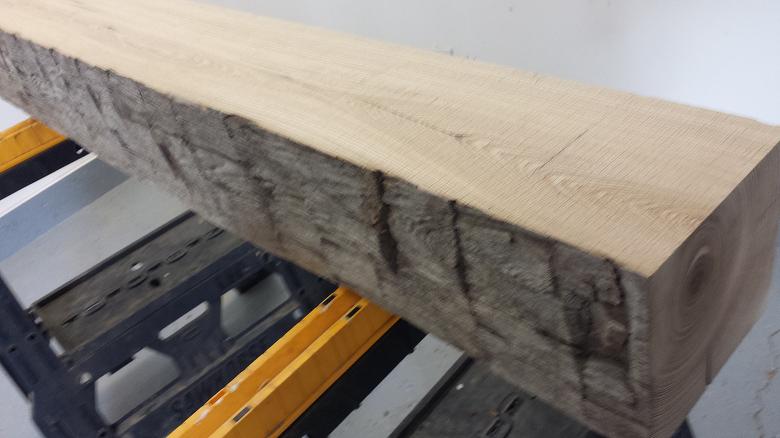
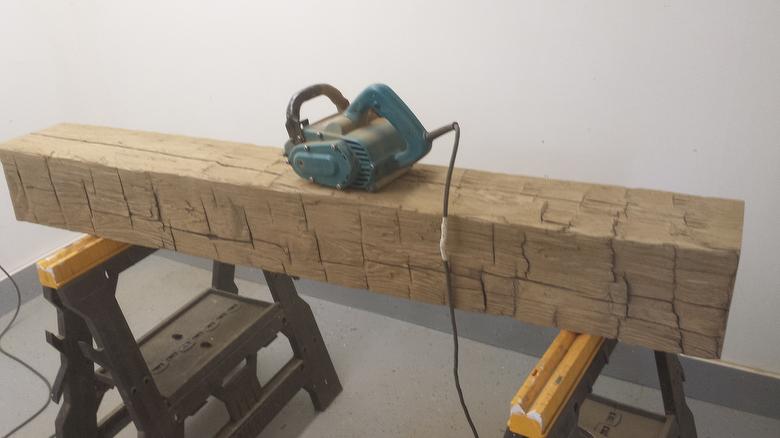
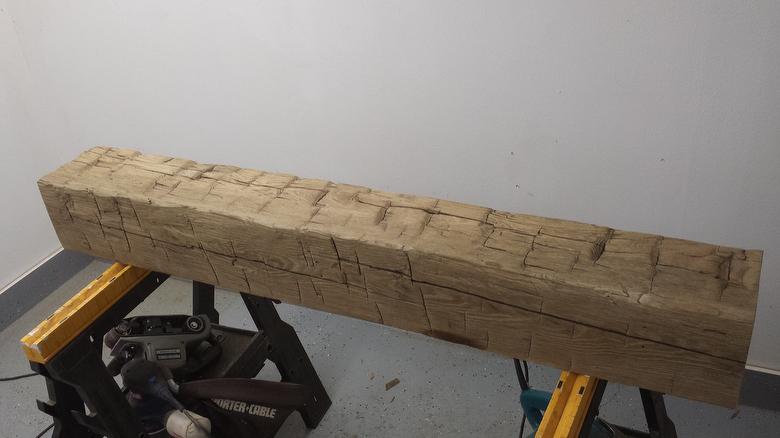
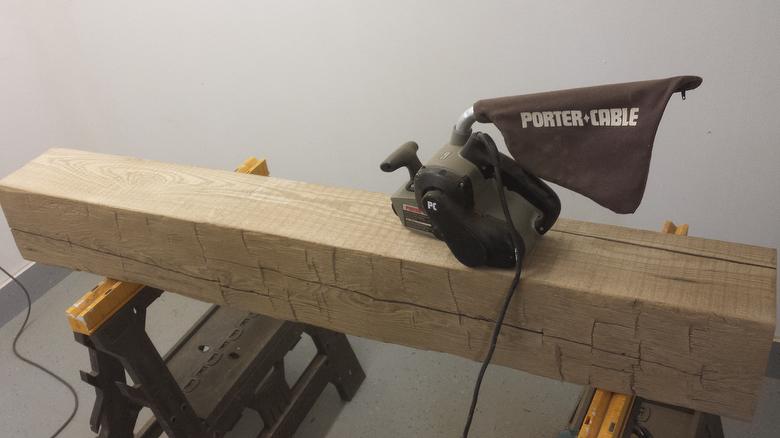
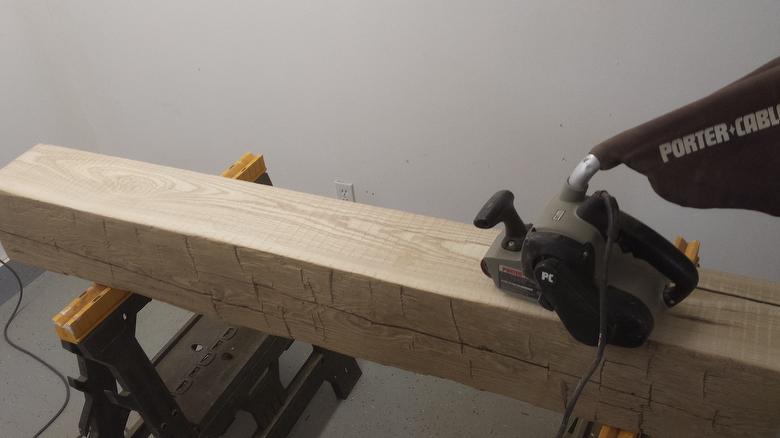
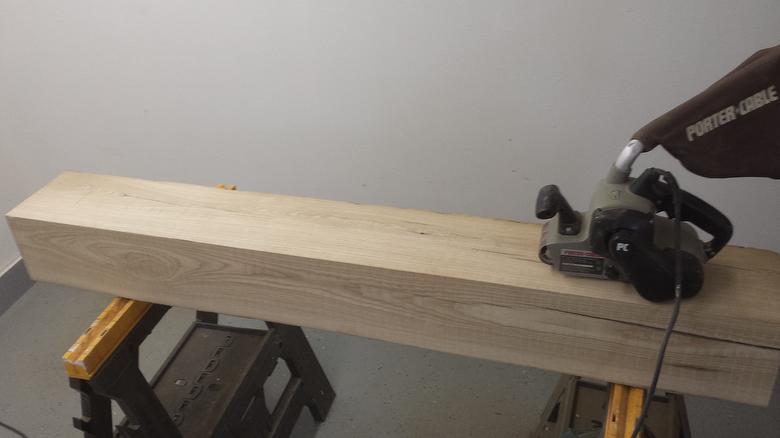
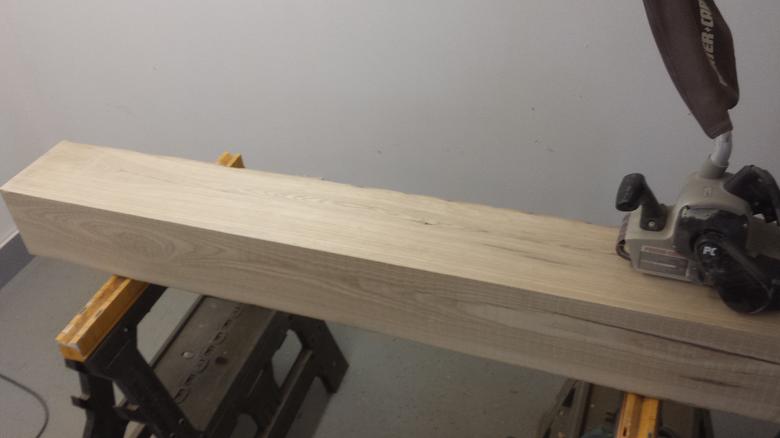
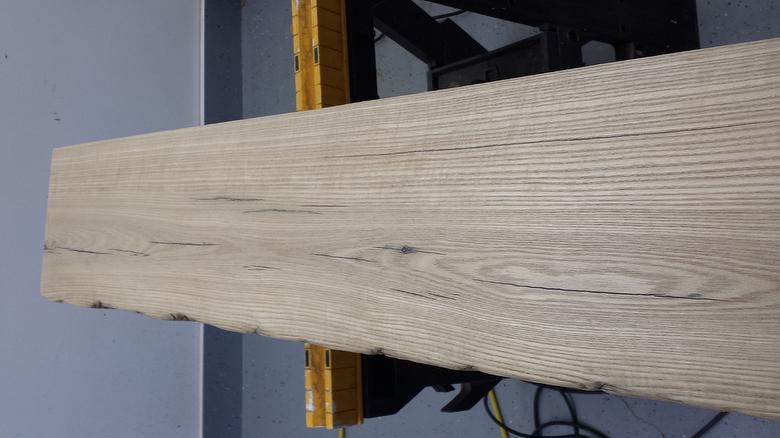
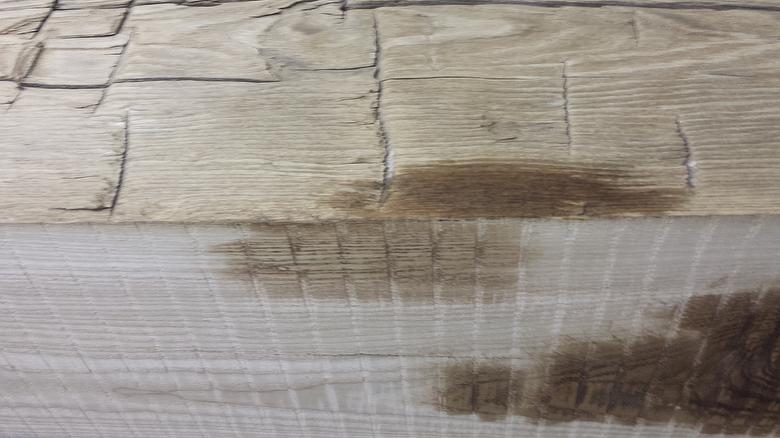
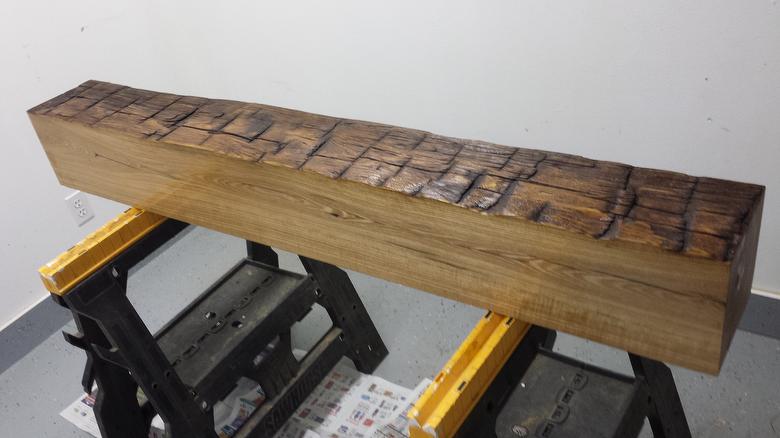
Photo #79822 - Hand-Hewn White Ash mantel - Cut on back and top side - ends squared
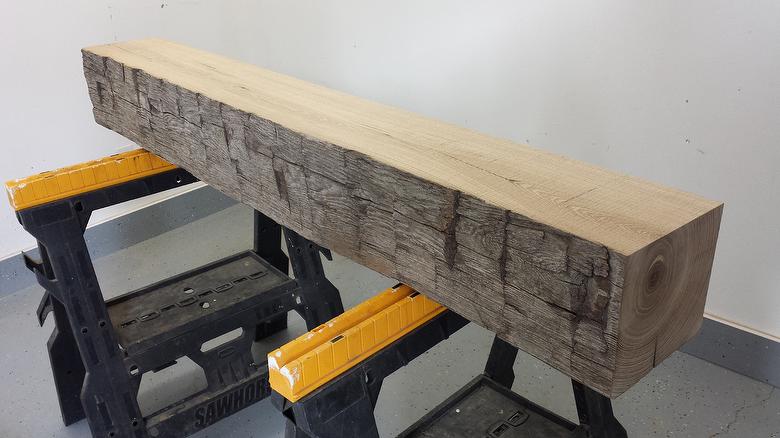
Photo #79821 - Hand-Hewn White Ash mantel - Cut on back and top side - ends squared
1
/image/original/79821/photo79821.jpg?authkey=
Photo #79822 - Hand-Hewn White Ash mantel - Cut on back and top side - ends squared
2
/image/original/79822/photo79822.jpg?authkey=
Photo #79823 - Hand-Hewn White Ash mantel - Cut on back and top side - ends squared
3
/image/original/79823/photo79823.jpg?authkey=
Photo #79824 - Lightly back chisled and Brush sanded on the Hand-Hewn sides
4
/image/original/79824/photo79824.jpg?authkey=
Photo #79829 - Brush sanded on the Hand-Hewn sides
5
/image/original/79829/photo79829.jpg?authkey=
Photo #79825 - Belt sanding the cut faces
6
/image/original/79825/photo79825.jpg?authkey=
Photo #79826 - Belt sanding the cut faces
7
/image/original/79826/photo79826.jpg?authkey=
Photo #79827 - Belt sanding the cut faces
8
/image/original/79827/photo79827.jpg?authkey=
Photo #79828 - Belt sanding the cut faces
9
/image/original/79828/photo79828.jpg?authkey=
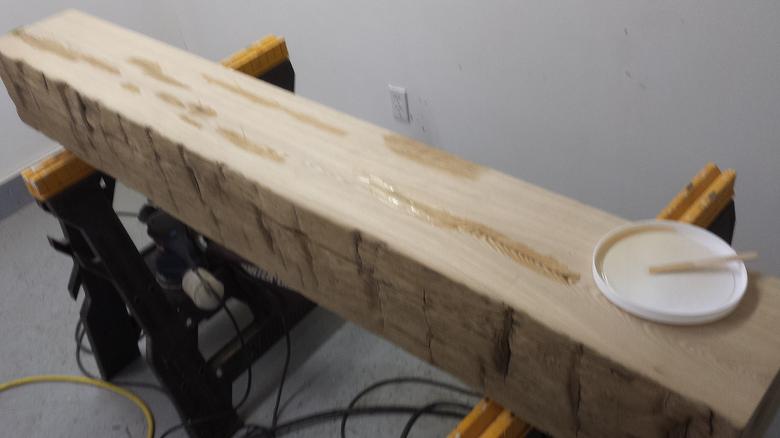
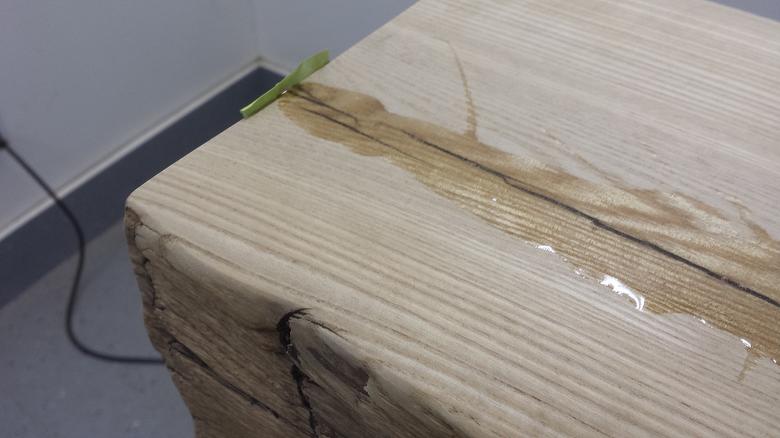
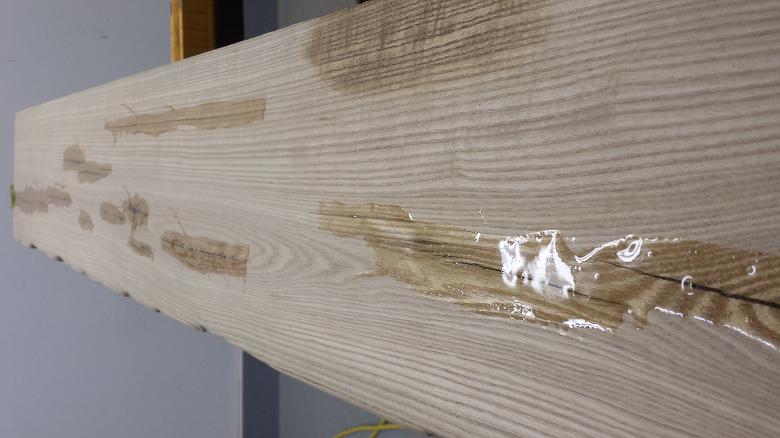
Photo #79831 - Clear Epoxy fill in checks/cracks
10
/image/original/79831/photo79831.jpg?authkey=
Photo #79832 - Clear Epoxy fill in checks/cracks
11
/image/original/79832/photo79832.jpg?authkey=
Photo #79833 - Clear Epoxy fill in checks/cracks
12
/image/original/79833/photo79833.jpg?authkey=
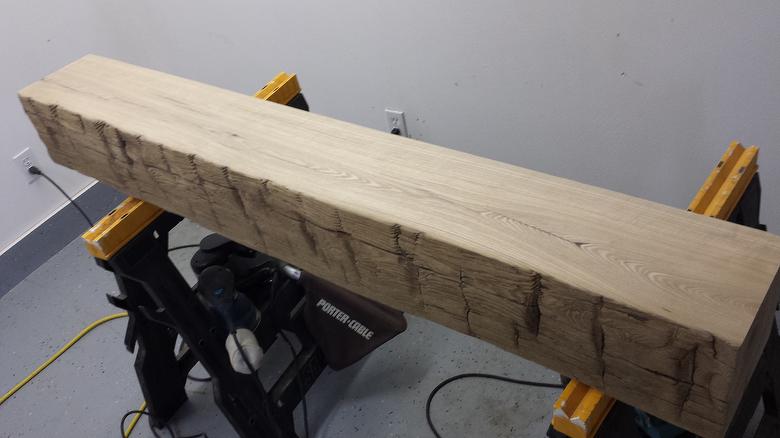
Photo #79834 - Cut faces progressively sanded with orbital sander to final 220 grit
13
/image/original/79834/photo79834.jpg?authkey=
Photo #79835 - Cut faces progressively sanded with orbital sander to final 220 grit
14
/image/original/79835/photo79835.jpg?authkey=
Photo #79830 - Mixing stain for cut sides that will blend with clear Polyurithane/Tung Oil mix finish on H-H faces - Tested on back (hidden side)
15
/image/original/79830/photo79830.jpg?authkey=
Photo #79836 - finished mantel ready for installation
16
/image/original/79836/photo79836.jpg?authkey=
Photoset #19275 - DIY Preparation and Finishing of Hand-Hewn Mantel - Vineyar...
of 16